Electromagnetic Devices
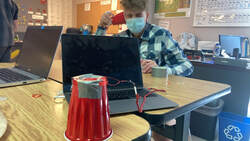
My electromagnetic device, as seen above, is a speaker made out of a Solo Cup, an aux cord, copper wire, duct tape, and 2 magnets. When the aux cord is plugged into a laptop or phone, and connected to the speaker on the otherside, the cup emits the noise and volume coming from the device. The copper wire has been wrapped around the cup and connected to the aux cord to ensure enough electricity is conducted throughout the speaker. The magnets basically "turn the electricity on" and allow the music to be heard through the cup.
Homemade Battery
|
|
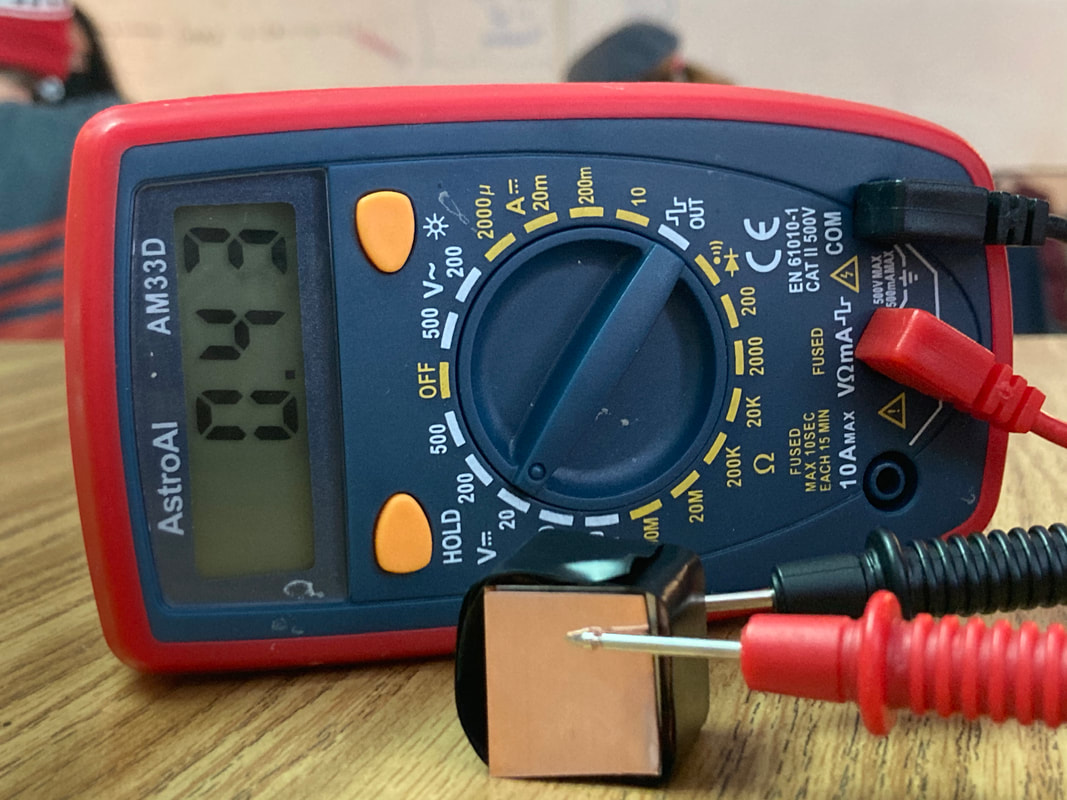
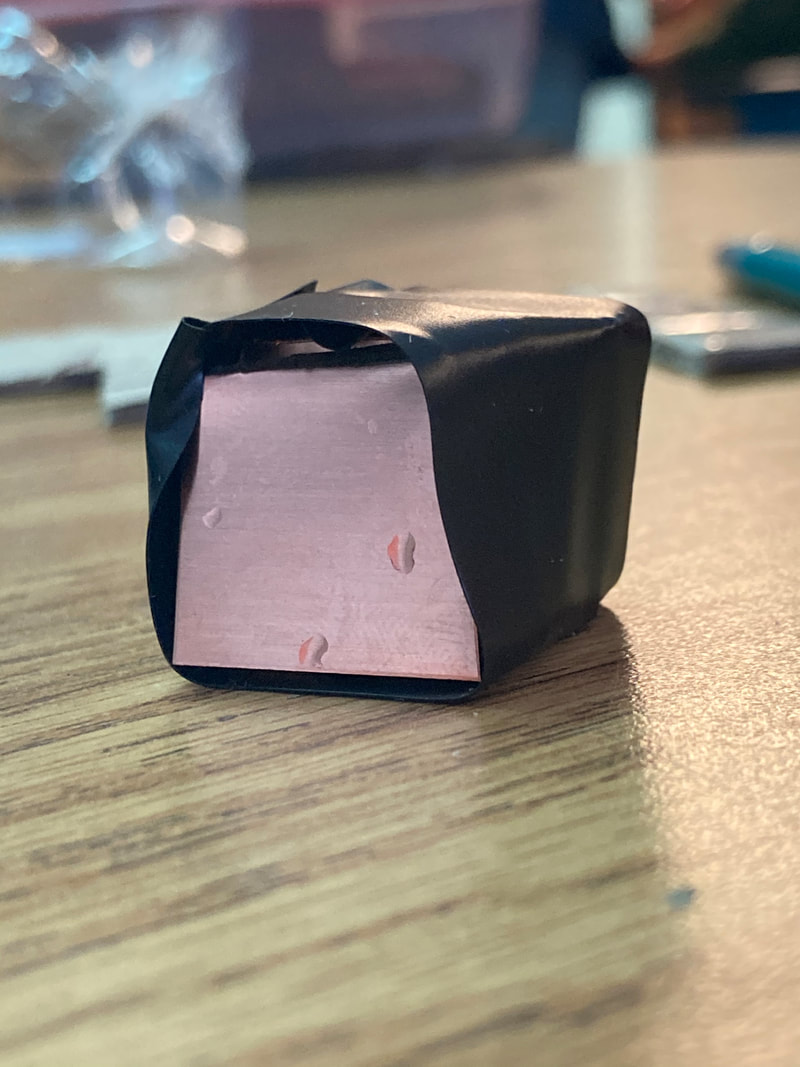
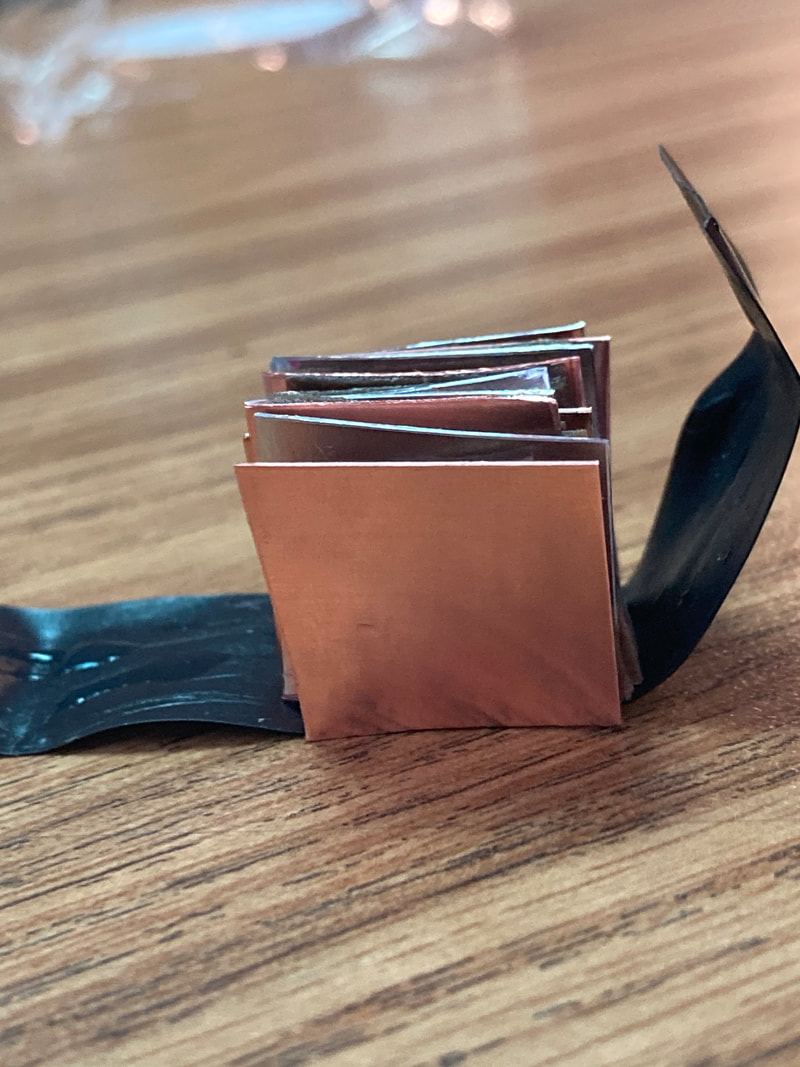
My battery is made up of cardboard (soaked in vinegar), zinc and copper plates, and electrical tape. The copper acts as an anode, while the zinc is the cathode. They push electricity through each other using the vinegar as the electrolytes. The sequence begins with copper and ends with zinc, wrapped in electrical tape. By using the volt meter i was able to measure roughly 0.43 volts.
My Rube Goldberg Machine Project
A Rube Goldberg Machine (RGM) is similar to a chain reaction machine, but it must perform a simple task, by using the 6 simple machines. The 6 simple machines are a lever, screw, wedge, incline plane, pulley, and wheel and axle. For my Physics project, I was required to construct an RGM including a challenge extension. I chose to make my spiral 720 degrees for my extension. My simple task was to drop paint on a piece of paper, making an “art piece”.
The conservation of energy is the idea that energy can neither be created nor destroyed, but can be changed in response to outside forces. My RGM shows this conservation in all of its steps, even in between them. At the beginning of my video, you can see that the marble on top of the spiral isn’t moving. It has potential energy. Once I cut the string holding the marble back, the marble’s potential energy is transformed into kinetic energy because it starts moving. Energy transfer is when energy is transferred in between steps of a process. You can identify this in my rube when the marble falls off of the spiral and into the pulley, causing the other side to ascend and release another marble. The energy is transferred from the weight and velocity of the marble to the pulley system.
Simple machines are machines that “change the direction or magnitude of a force”. They are the simplest devices used in everyday tasks. My RGM has all 6 machines; my spiral, pulley, incline plane, wheel and axle(fingerboard), lever (scissors), and wedge (wooden block). My challenge step is combined with my spiral. I chose to make it rotate 720 degrees, so that the marble would make 2 complete revolutions.
My number one takeaway from this project is that making RGM’s are extremely difficult. I had a lot of trial and error, and even wanted to give up most of the time. I had to realize, I can simplify it a lot. RGM’s are supposed to be made out of household items, and they’re supposed to flow. Some trial and error is necessary in every RGM, but sometimes you just need to take a step back and look at it from a different perspective. I had the hardest time with the spiral in particular, because it didn’t want to stay up right, so the marble wouldn’t roll down correctly. My greatest strength during this project was perseverance. It isn’t demonstrated in my video, but I can promise that I went through lot’s of up’s and down’s trying to finish the project. I had to break through mental barriers and force myself to work out the knots.
Photographs of Physics Project
During this project, our class learned about the nature of light, the nature of a photograph, and how the study of optics is relevant today. not only did we build our own Pinhole Cameras and Camera Obscuras, but we also took pictures actually visualizing the effects of refraction and reflection.
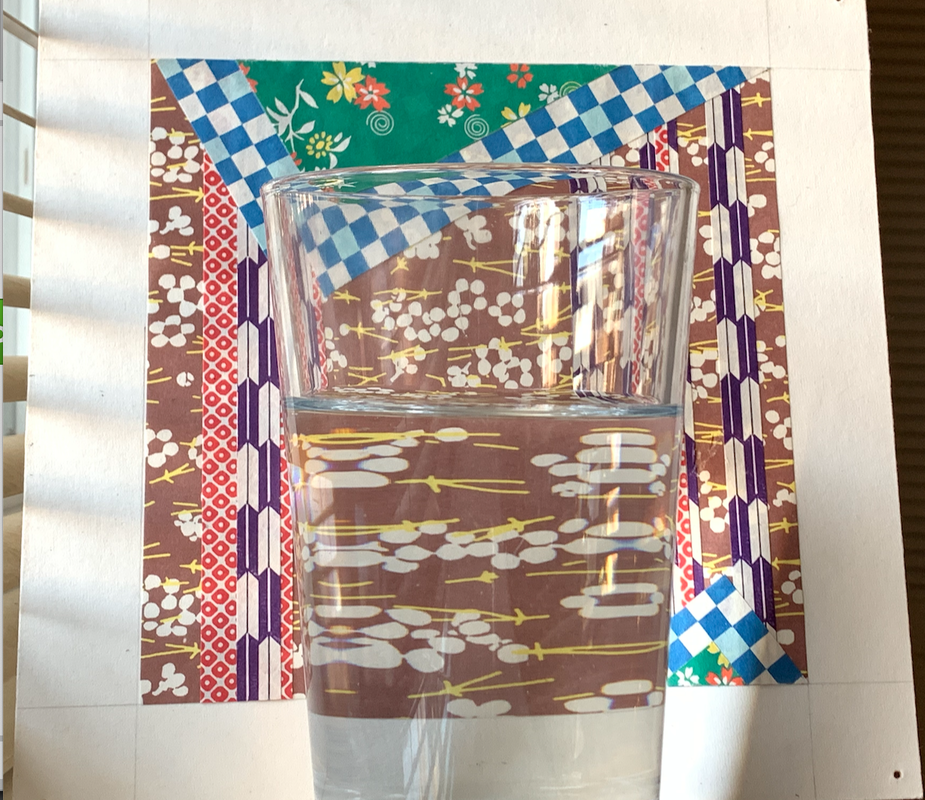
Colorful Water Refraction
|
In this photograph, I set up a glass of water in front of a piece of artwork that includes varieties of colors, shapes, and patterns. I put the art behind the water and glass so that the viewer can see how the pattern changes when looked at through a different medium. If you look at the art around the glass, it looks sharp and consistent, but when you look at it through the glass, it’s a lot bigger and stretched out. That is because light refracts differently through water and glass than it does through air. Basically when light travels through water, it slows down and changes direction slightly, which causes the change in appearance and also flips the image.
|
Reflection
I feel like my creativity was my biggest strength during this project. I had a fun time picking out the artwork, lighting, and set up of my photo. The shapes and patterns really stood out to me and that's why I decided to use the artwork to represent water refraction.
Although I easily executed the photo, I really struggled understanding the physics behind the refraction. I could picture the concept in my head, but couldn't put it into words and especially couldn't explain it. really the only way i could move past this obstacle was just to listen and get feedback from Tina. The way she explained it didn't always make sense but after asking for help I finally started to grasp the concept, and was able to visualize and verbalize it.
My biggest take away from this project is learning how this all works because I obviously had no knowledge of it before. You can see in my project description that I clearly understand how refraction works through different mediums. I genuinely believe that in the future I will still have a pretty general understanding of the physics behind refraction after this project.
Before 10th grade, all of my knowledge of science only covered biology for the most part. This unit broadened my understanding of different aspects that I was aware of, but didn't know anything about.
I believe I did a good job on this project. I think my photo could've been more refined, for example I could've straightened the artwork so that the edges matched and there weren't gaps. I acknowledge what I could have improved, so maybe I can do better in the future.
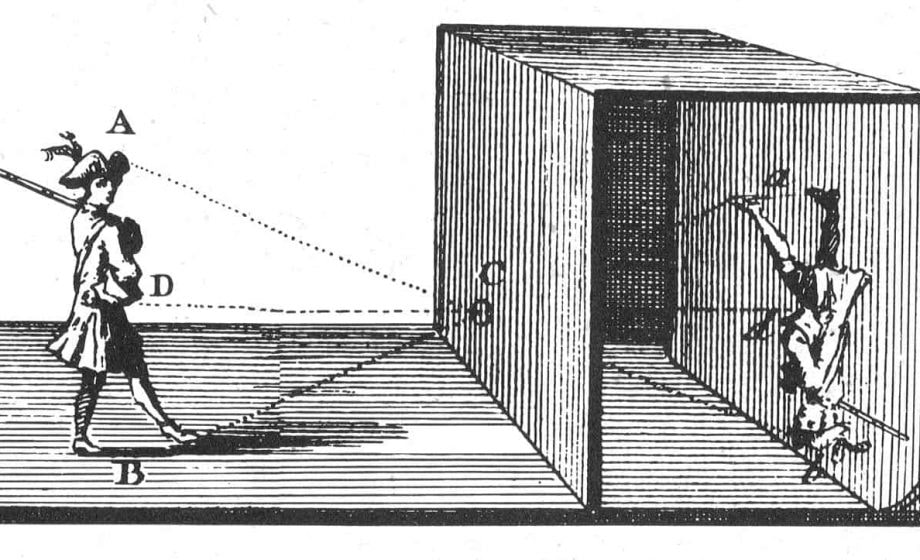
What is a Camera Obscura?
|
A Camera Obscura consists of a room absent of all natural light (except for red light, which is used to see while working in a dark room) that has a small whole on one wall that lets light in. as you can see in the diagram, whatever is outside of the room in front of the hole will be reflected onto the wall opposite. if you are inside of the room, you will be able to see the image from outside, but it will be upside down, and blurry or dim depending on the size of the hole (the smaller it is, the sharper the image but it will be dimmer). in order to use the room as a camera and actually produce an image, I temporarily closed the pinhole and placed photograph paper so that the image would be seen on it instead of the wall.
|
|
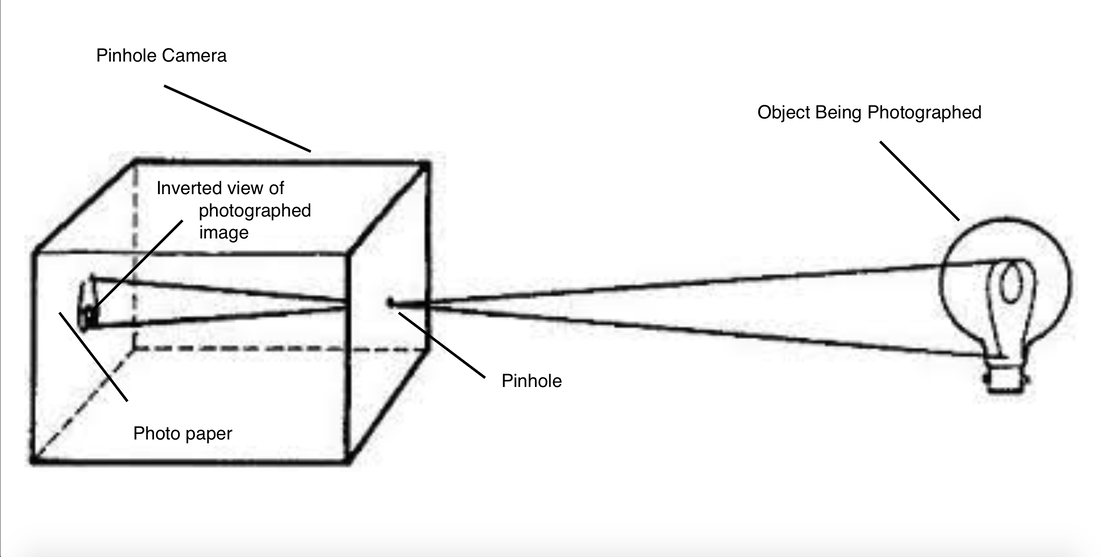
What is a Pinhole Camera?
|
A Pinhole Camera works the same way, except it's smaller and hand held. Light comes through the pinhole, but instead of the image reflecting on the wall inside, there is a piece of thin white wax paper that you can see when you look through a separate hole behind it.
|
|
